This is an old revision of the document!
9.02. Receiving goods back from a customer
It is important to be able to receive goods back from a customer without it being counted as goods coming from a supplier. If your customer issues the goods to you on a Customer Invoice, and you then receive it through a Supplier Invoice, then those goods will be counted as part of your store's 'supply' from suppliers, which is not correct. A Customer credit is the right way to receive goods back from a customer.
If one of your customers wishes to return goods to you, you should receive them back into your store using a customer credit transaction.
You can create a customer credit manually or it can be created automatically in your store if your customer is a store in mSupply and they create a supplier credit to return the goods to you - refer Return goods to a supplier.
Customer credits created automatically will have status = nw and placed on hold so that they do not affect stock in your store. When the goods physically arrive at your store, you can check them over, verify quantities, batches, condition, etc., make any necessary adjustments to the customer credit before taking it off hold and receiving the returned goods in to stock in mSupply.
Viewing and editing customer credits
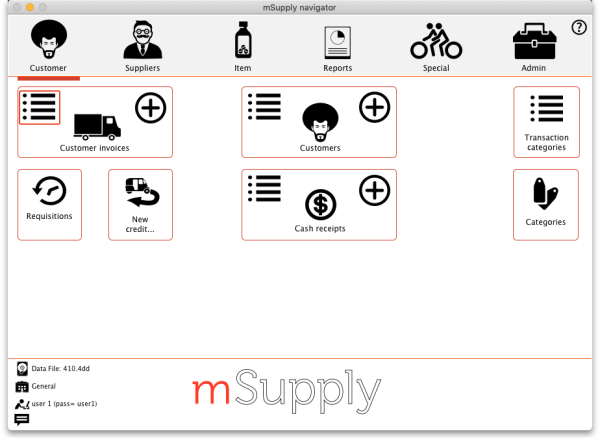
Choose Customer > Show invoices… from the menu or click on the Show customer invoices icon on the Customers tab of the navigator:
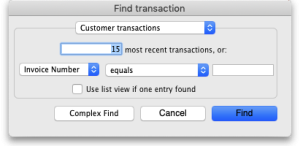
This will show you the search filter window:
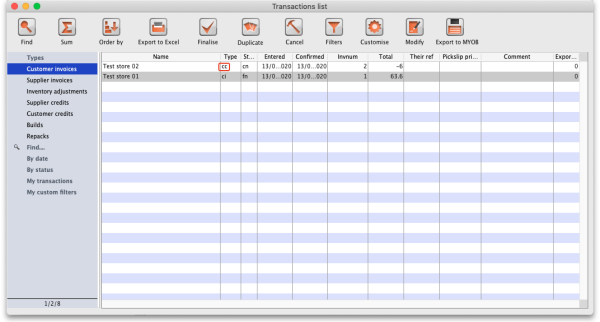
Note that the drop down list at the top is set to Customer transactions. Edit the other filter selections as required (leave the top drop down list as it is) and click on the OK button to see a list of all customer transactions (invoices, credits etc.). The customer credits are the ones with “cc” in the Type column:
Double click on any transaction in the list to view or edit it.
Creating customer credits
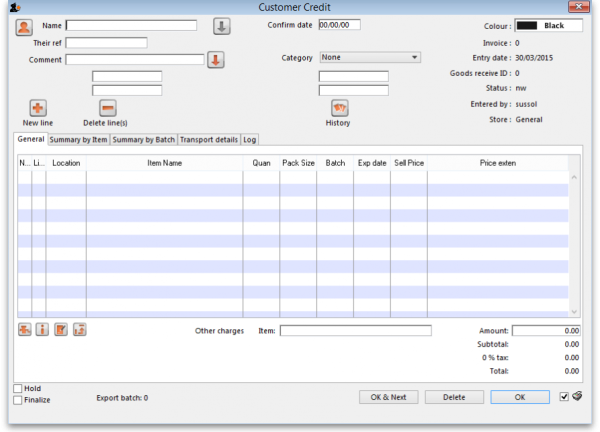
Choose Customer > New credit… from the menu bar or click on the New credit… icon on the Customer tab of the navigator to open this window:
Enter the name of the customer you are receiving the goods from in the Name field by typing the first few characters of the name and pressing the Tab key on the keyboard to select it. Enter a reference and comment in the Their ref and Comment fields if required then click on the New line button to add a line to the credit:
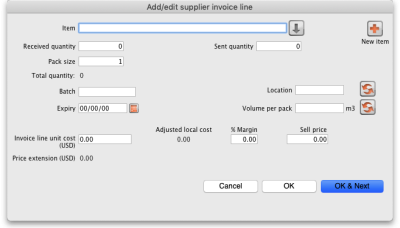
Here you can enter the details of the first batch you are receiving. This is exactly the same as filling out the details for a supplier invoice line. Enter the name of the item first by typing the first few characters of the name or code then press the tab key to select the right item. Now enter the rest of the details as required, to match the stock being returned.
Note that on the customer credit you should enter items with zero margin. This is because mSupply uses the cost price entered to calculate the amount to credit the customer, so you must enter the amount you charged them as the cost price for each line. Presumably you want to sell the item again for the same price you sold it originally, hence the cost and selling price should be the same.
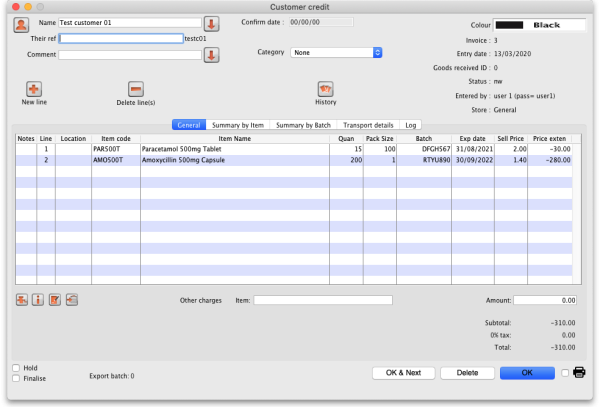
When you have finished entering this line's details, click on the OK button if you're finished or the OK & Next button to add another line. When you've finished adding lines you'll be back at the customer credit window:
Click on the OK button to save the customer credit. This will automatically confirm it and put the items on it into your stock in mSupply.
There is no need to enter negative values for quantities or prices in mSupply. Even when you are entering returned goods from customers, or returning goods to suppliers, enter positive values. mSupply automatically converts the amounts to negative values as required to keep all the figures in correct balance.
| Previous: 9.01. Return goods to a supplier | | Next: 10. Dispensing goods |
