This is an old revision of the document!
13.07. Synchronisation
- Synchronisation preferences are only relevant for a synced system.
- These preferences can be safely ignored if you have a stand-alone mSupply installation, or a single server.
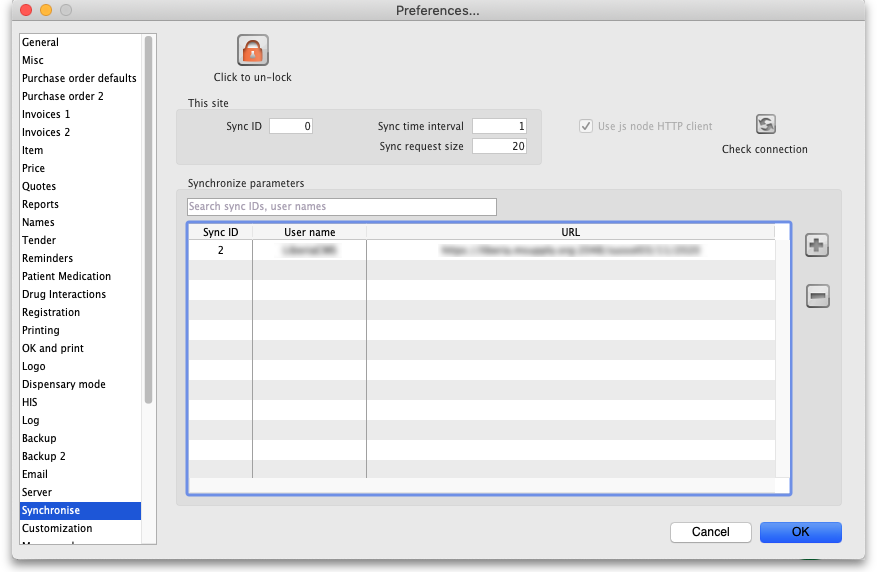
Admin > Preferences > Synchronisation
These settings will normally only be changed by Sustainable Solutions. They are not intended for general use by mSupply users. Documentation here is for reference only.
Editing sync preferences
Sync time interval: This is the time interval in minutes between requests for new information that the satellite servers make to the primary server. Any user with permission to edit preferences can edit the sync time interval. This is the only synchronisation preference that can be edited without clicking the un-lock button.
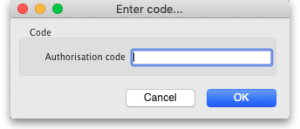
Click to Un-lock button: Altering these preferences can have serious consequences for your mSupply® data so the remaining synchronisation preferences are protected by an authorisation code. Click on the 'Click to Un-lock' button and you are presented with the following screen:  To continue and edit the synchronize preferences enter your authorisation code in the box and click on the OK button. To return to the preferences screen without unlocking the synchronize preferences click on the Cancel button.
Synchronize parameters
- Sync ID: The ID of the current store to use in the synchronization process. You choose this - it MUST be unique to each store to be synchronized. ID 1 is reserved for the primary server (so, if this is the primary server put 1 in here).
- User name: Communication between the primary and satellite servers is authenticated. This user name and the password field must match what the primary server is expecting. So, you can enter any valid username and password in these fields but they must all be the same for the primary and satellite servers.
- Password: as above.
- Sync with:
This list contains the names of the servers to synchronize with. If this is the primary server all the satellite servers will be identified in this table. If this is a satellite server then the primary server only will be identified in here. Click on the '+' button to add a server to the list (takes you to another window where you enter the Sync ID, Name, Store and URL for the server to synchronize. Note that these values, except URL will have been entered in this page on the servers hosting the stores selected. Make sure you enter the right values! The URL field contains the full URL of the server hosting the store to synchronize) and the '-' button to delete a server you have selected in the list.
| Previous: 13.06. Entering a new logo | | Next: 13.08. FrontlineSMS |

