3.08. Enter incoming goods (supplier invoices)
In some countries, an invoice for incoming goods is referred to as a “bill” - in mSupply we use “supplier invoice” to mean the same thing.
Let's suppose we have just received a shipment containing two items from Acme Pharmaceuticals, and we want to enter these goods into stock. The invoice looks like this:
| From: Acme Pharmaceuticals Bill: no.A939 | ||||||
| Item | Quan | Pack | Batch | Expiry | Price | Extension |
|---|---|---|---|---|---|---|
| Amoxycillin Caps 250mg | 1000 | 100 | b93333 | 31/12/2015 | 344 | 344,000.00 |
| Cotrimoxazole 240mg/5mL susp | 65 | 60 | bb23d | 31/10/2015 | 21 | 1,365.00 |
| Cotrimoxazole 240mg/5mL susp | 100 | 60 | bb22d | 31/01/2016 | 21 | 2,100.00 |
| Total: | 347,465.00 | |||||
Choose Supplier>New invoice from the menu or mSupply navigator screen.

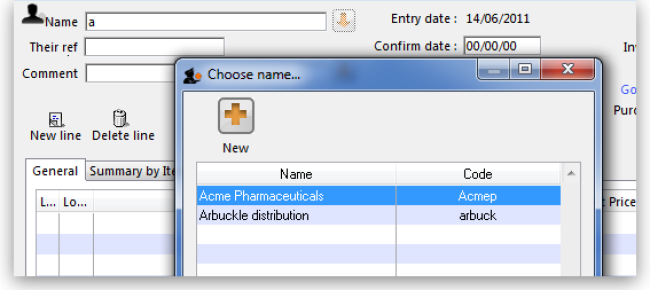
The cursor will be positioned in the Name field. Type a and then press Tab. If there is only one supplier whose name starts with “a”, the details will automatically be filled in.
In our case, there are two suppliers whose names starts with “a”, so you will see a window listing both of these suppliers. Double-click the line containing “Acme Pharmaceuticals” to choose them for this invoice. The insertion point will jump to the Their ref field.
- Type
A939into the Their ref field. Press Tab to advance to the Comment field.
- In the Comment field you can type a comment or information to identify the invoice.
- Note that the margin is showing as 10 percent (the percentage that will be added to your cost price to obtain the selling price).
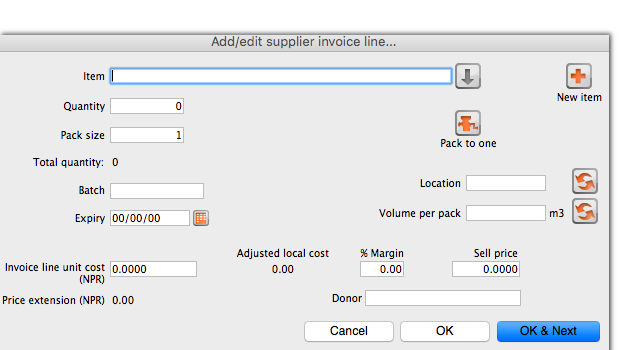
- Click the New line button to add the first invoice line. You will be presented with the window for adding invoice lines.
- The cursor will be positioned in the Item field. Type
a, then press Tab. You will see a window listing all items whose name starts with “a”. Double-click the Amoxycillin 250mg tab/cap entry to choose it.- In the Quantity field, enter the number of packs received
1000. Note that this is the number of packs, not the total quantity of capsules. - Enter the pack size
100. - You can ignore the Location and Volume per pack fields for this tutorial.
- Enter the batch number
b93333. - Enter the expiry date
31/12/14(Presuming you have dates set up to enter as dd/mm/yy. If your dates are set to the USA's mm/dd/yy format, enter12/31/14). You only have to enter 2 digits for the year as long as the year is between 1961 and 2060. Dates outside this range must have the year entered as four digits (yyyy). - In the Invoice line cost field enter the pack cost price
344. - The table shown in the picture at the bottom appears if you have Show previous purchases checked in your preferences. It will show purchases you have made of this item in the past.
- Donor is the donor who provided funds for the goods on this invoice. You can create donors by activating donor tracking in File/Preferences/Suppliers/New Supplier and then check the donor checkbox.
As we have another line to add, click the OK and Next button. The entry is recorded, and the window is now blank to accept your second invoice line.
- Enter
cinto the item name field and press Tab. In the list of items showing, you will find Cotrimoxazole 240mg/5mL susp. Double-click the entry. - Enter the remaining invoice details for “Cotrimoxazole 240mg/5mL susp”:
- quantity
65. - pack size
60. Note that it is better to record the actual volume of most packs, unless the volume is not important - e.g. with eye-drops where you could record the pack as “1”. - batch
bb23d. - expiry
31/12/13. - price
21.00(You can just enter21).
Click the OK & Next button to save the details and start to enter another item.
Now enter the third item on the supplier invoice from the example invoice from Acme Pharmaceuticals above. When you have finished, click the OK button to take you back to the main list of invoices.
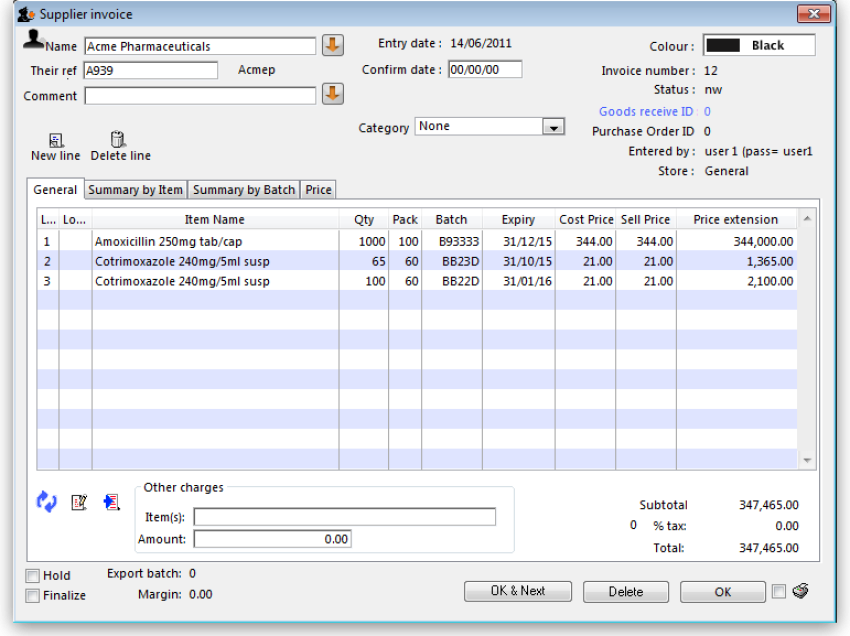
Our invoice will now have 3 items added to it. The invoice total should read “347,465”, and should appear like this:
If you have made a mistake, click on the relevant line, which will now be highlighted; double-clicking on it allows you to edit it. You will be shown the line details again, and you can then make corrections and click the OK button to save your changes.
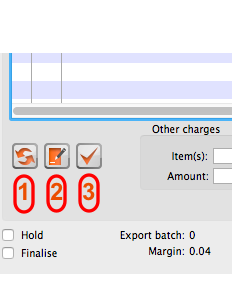
There are 3 icons in the bottom left corner of the invoice window.
- This allows you to rearrange the order in which the lines are shown on the invoice
- Here you can make a note of anything relevant to this invoice
- This will copy the details of the invoice to the clipboard
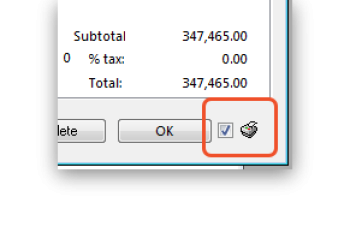
Now click the OK button. As long as you have left the “print” checkbox (bottom right corner) checked, you will be asked if you want to print the invoice (you may do so). Note that when you print, you are shown two windows. The first window is the page setup for your printer, the second window allows you to specify how many copies to print, etc. (The second window also has a “preview” checkbox, where you can preview the print job).
As this invoice is a “supplier invoice” it has been “confirmed” when you clicked the OK button in the invoice entry window. You can view and edit the invoice details until the invoice is finalised. Note that if you issue some of the stock you have just entered to a customer, some fields will no longer be editable.
NOTE: as of mSupply v190, a more precise alternative for entering received goods has been implemented. See section 7.02. Goods receipts for information on viewing and editing supplier invoices created via Goods Receipts.
| Previous: 3.07. Viewing Names in Google Maps | | Next: 3.09. Enter outgoing goods (customer invoices) |
