16.06. Entering a new logo
- The preferences described here (accessed through File > Preferences…) apply to all stores on an mSupply server.
- In a synced system there will be multiple 'sync satellites' and these settings can be different on each sync satellite.
- There are some settings that are 'per store' - refer Store preferences, and store preferences can be different for each store on an mSupply server.
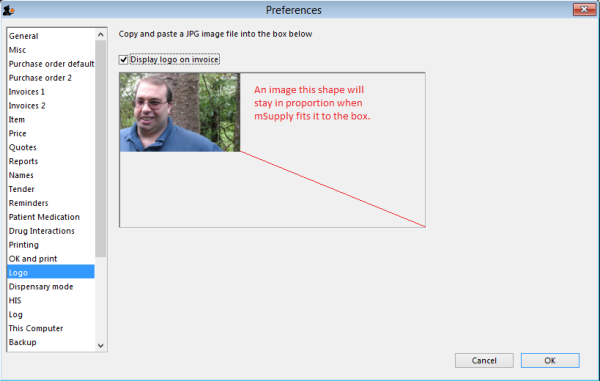
Select File>Preferences. On the left hand side choose Logo.
If you want this logo to be printed on invoices then tick the box.
Copy your image onto your clipboard (control+c) and paste into the area provided (control+v). Be careful to use an image of the aspect ratio 2:1 (2 wide to 1 high) as mSupply will stretch the image to fill the available area.
| Previous: 16.05. Mobile Dashboard set up (before v4.0) | | Next: 16.07. Synchronisation preferences |

