3.04. Navigator
Overview
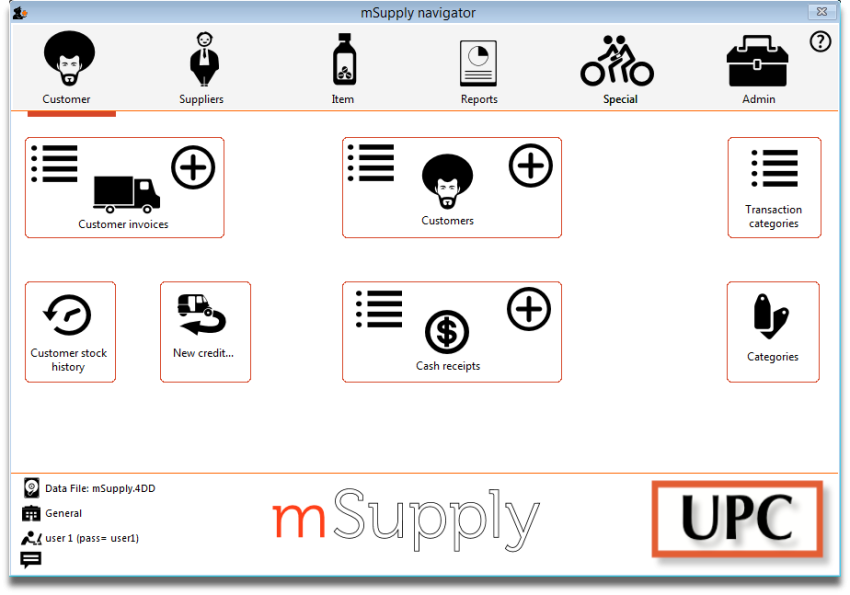
The mSupply navigator provides access to most of the functions you will be using regularly in mSupply. Many of these functions can also be opened using shortcut keys. Once you have gained some experience, you may find it quicker to use the shortcuts.
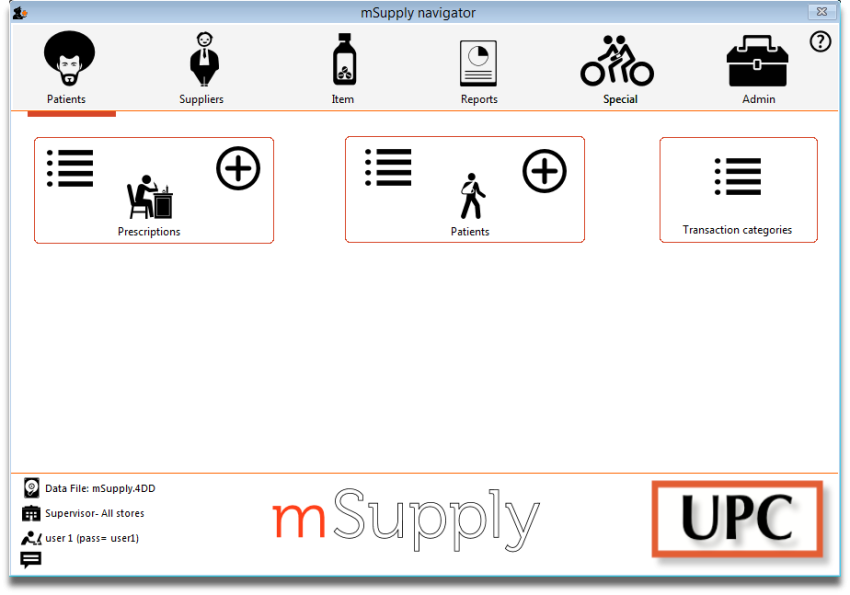
The navigator always opens at the Customers screen in Store mode, shown above, or the Patients screen in Dispensary mode, shown below.
Displayed along the top of the screen are four items of information:
- the mode selected at login (Store or Dispensary)
- the store in which you are working - for most users, this will be General
- the active data file
- the user currently logged in
Immediately below this, there are six large icons, Customers or Patients, Suppliers, Item, Reports, Special and Admin. When you click on one of these large icons, the panel below will display more icons for each of the available functions and procedures. You can select the smaller panel icons by clicking on the icon, or by advancing through the icons with the right and left arrow keys and pressing Enter.
In the next part of the tutorial, you will be using the Items panel of the navigator. As the same procedures are common to all panels, you will quickly become familiar with them.
The bottom right area of the navigator screen is available for displaying your logo. In our example, the logo of “Acme Medical Supplies” is displayed. You can add your logo by through the menu File>Preferences>Logo - see 16.06. Entering a new logo.
| Previous: 3.03. Opening the example data file | | Next: 3.05. Creating and viewing items |

